Concrete Slabs in South Florida: What You Should Know
Whether you’re laying a foundation for your home or planning a commercial concrete project, understanding the intricacies of concrete slabs is vital. This article delves into the world of cement slabs, providing insights on concrete forms and guiding you through calculations with a handy concrete slab calculator. Discover how much concrete per yard you’ll need and ensure your slab work, be it a single slab or multiple concrete slabs, is executed flawlessly.
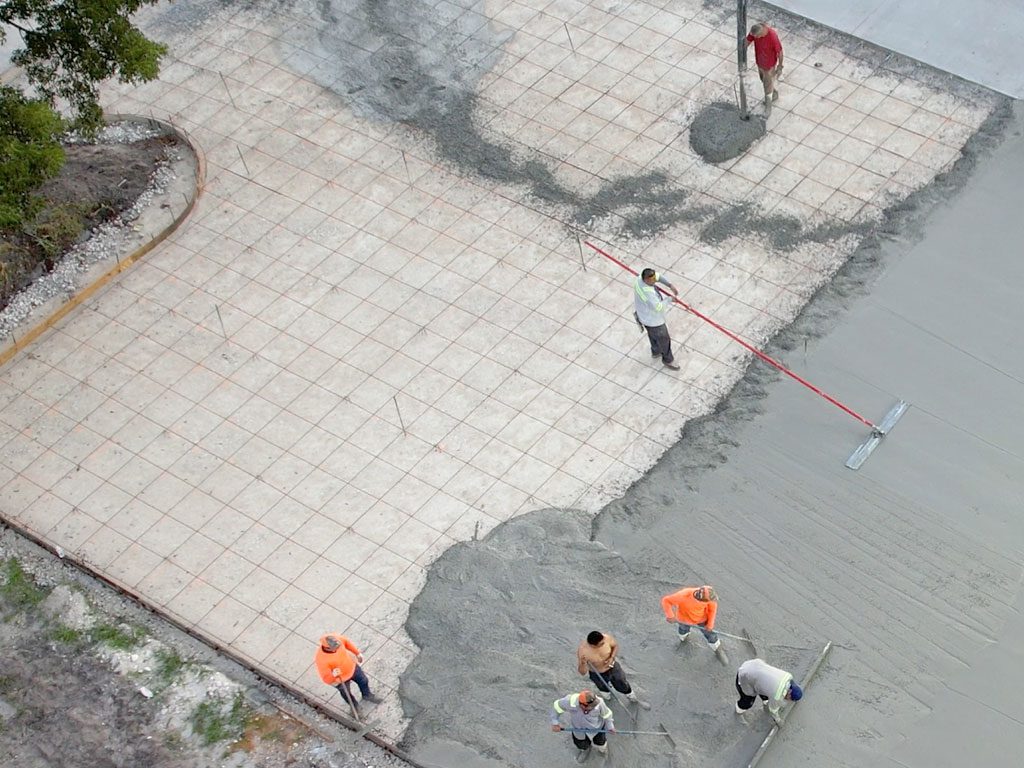
1. How much concrete will you need for your slab?
Concrete is measured in cubic yards. To visualize, Imagine a three dimensional box, this box is 1 yard high, wide, and long. That is a cubic yard. Now, how many cubic yards will it take? Use this simple calculator from the Concrete Network.
2. How much do concrete slabs cost?
Everyone in South Florida, from Orlando to the Florida keys, wants to know, How much do concrete slabs cost? How much does concrete cost per yard? Where can I find a concrete cost estimate? The cost is always subject to job specific factors in addition to the amount of concrete needed but sites like HomeAdvisor can get you started.
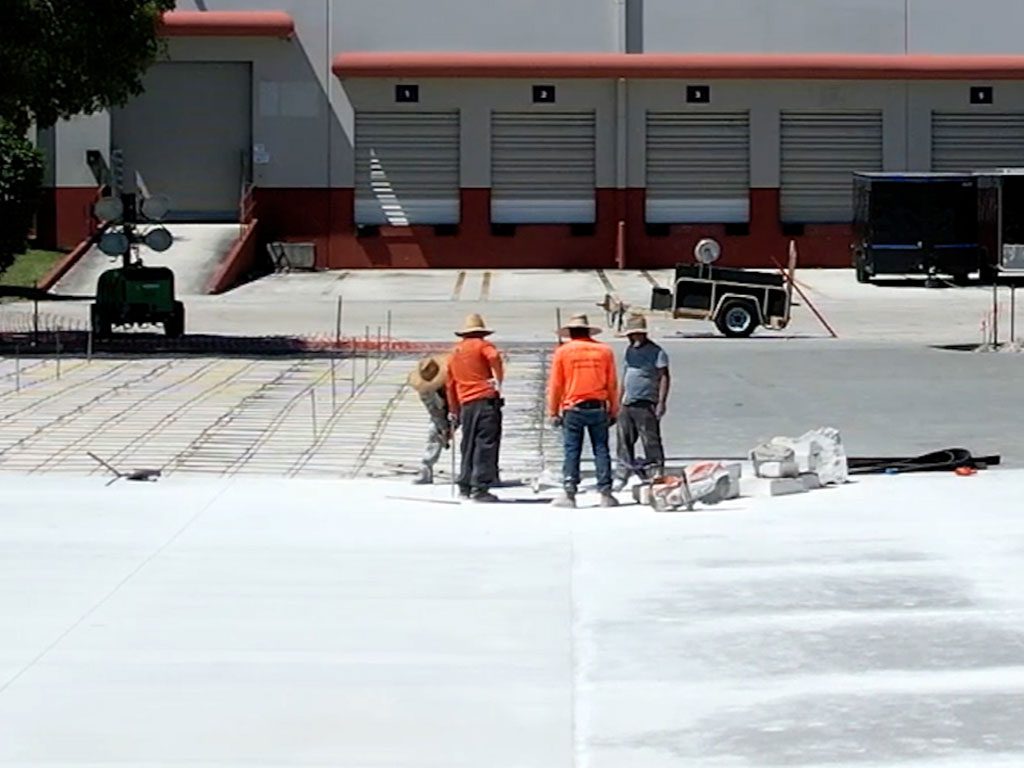
Additional slab cost factors to consider
There are several things that can affect the cost of your concrete project, including:
- How complicated is the project: stairs will likely cost more than a slab, for example.
- Materials: polymer concrete is often more expensive.
- Labor prices: jobs that take longer and need more workers will have a higher price.
- Extra strength: adding rebar or mesh to the concrete will up the cost.
- Additional tasks: do you need to remove existing concrete, excavate or do additional prep?
3. What kind of concrete do I need for my slab project?
There are many types of concrete and concrete mix to consider. If you’re not sure what you need, talk to the concrete professionals at 3-D Paving and Sealcoating, South Florida’s commercial concrete experts. Here are a few of the more common varieties of concrete:
- Quick-set: Hardens in 20 to 40 minutes. Best for small projects.
- Regular-set: 24 to 48 hour set time. Used more for large projects.
- High-strength: Usually sets in 10 to 12 hours. Works well for foundation.
- Crack-resistant: This is a durable option that works well for walkways.
- Polymer: Uses epoxy binder to harden. Benefits depend on the type of resin used, but can include heat and weather resistance.
4. The role of concrete forms
When it comes to laying a concrete slab, think of concrete forms as the guiding hands that shape its boundaries. These forms, or molds, are crucial for determining the slab’s thickness, width, and overall dimensions. There are several types of forms used in the industry:
- Wooden Forms: Traditional and widely used, wooden forms are both flexible and adaptable, making them ideal for many basic slab projects. Plywood, in particular, is favored due to its smooth surface which gives the concrete a clean finish.
- Metal Forms: More durable than wooden forms, metal ones, especially those made of steel, resist warping and are reusable for longer periods. They’re ideal for larger commercial projects where consistency and longevity are key.
- Plastic Forms: Lightweight and resistant to moisture, plastic forms are becoming increasingly popular. They offer a smooth finish and are particularly useful in wetter climates or projects that need quick turnovers since they can be easily moved and reused.
- Insulated Concrete Forms (ICFs): These are more than just molds; ICFs are permanent forms that stay in place even after the concrete has set. Made of foam and filled with concrete, they offer insulation and are often used in energy-efficient buildings.
Each type of form has its strengths, catering to different project needs. For a concrete slab that stands the test of time, it’s imperative to select the right form based on the specific requirements and environmental conditions of the project.
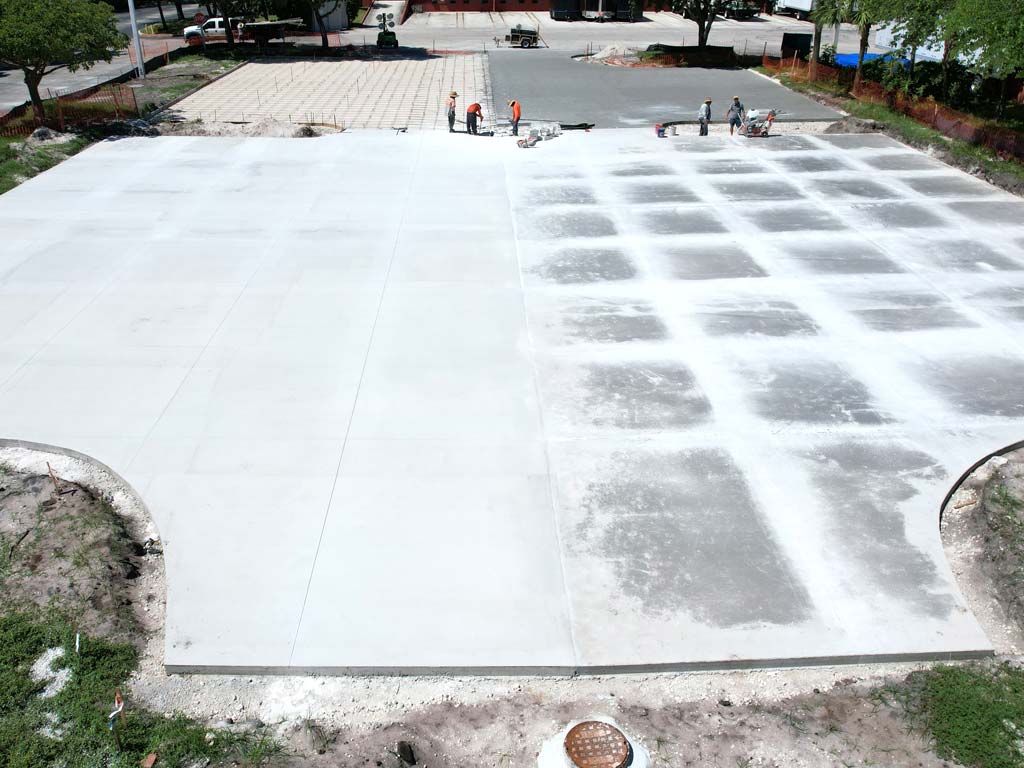
5. Ground Prep Time:
Before the concrete comes the ground. You’ve got to get it ready. In places with sandy or wet grounds, like Hollywood, this is super important. It’s like setting up a bed for a good night’s sleep. You want it firm and solid.
6. Weather and Concrete:
South Florida’s tropical climate presents unique challenges to concrete slab installations and general concrete tasks. When planning and executing any concrete project in the region, it’s vital to keep the following in mind:
- Heat: Intense temperatures can accelerate the curing process, potentially leading to surface cracking and reduced concrete strength.
- Humidity: Elevated humidity levels can alter the setting time and can impact the structural integrity of the concrete mix.
- Rainfall: Unexpected rain showers, particularly prevalent in the summer, can dilute unset concrete, compromising its durability.
- Best Times: To mitigate the impact of heat and potential rainfall, it’s often best to schedule pours earlier in the mornings as South Florida showers are more common in the afternoons.
- Winter Work: The milder winter months can provide better overall conditions for concrete work.
Given these challenges, it’s always recommended to strategize the concrete work with the weather in mind, ensuring the best results for any project
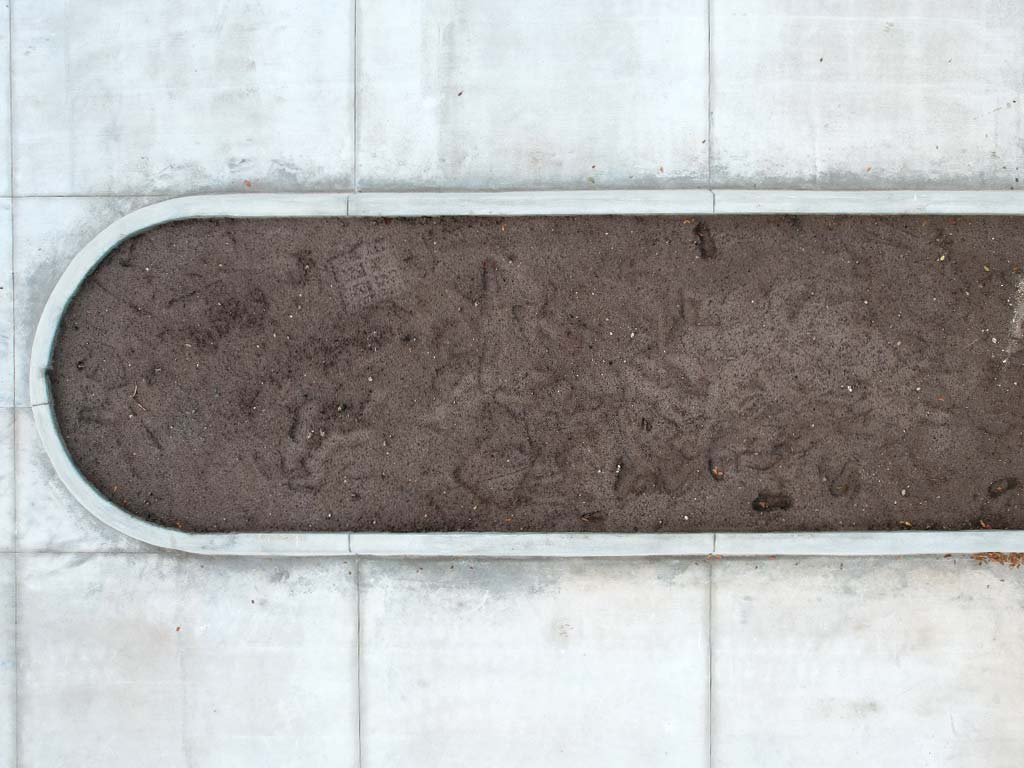
7. Expertise in Concrete Projects:
Embarking on a concrete slab project without the guidance of seasoned professionals can lead to costly errors and subpar results. Professionals not only bring their technical skills but also invaluable experience that can preempt potential challenges unique to each job.
8. Extra Tips for Your Slab:
- Always double-check your measurements. It’s like baking; you want to get your ingredients just right.
- South Florida has unique soil. Always test the ground before you start.
- Remember, always put safety first, consult a professional and wear protective gear.
Thinking about Cement?
You might hear words like “cement slab” when talking about concrete. But did you know cement is just a part of concrete? It’s mixed with sand, gravel, and water to make concrete. Kind of like how flour is a part of a cake, but you need more stuff to make the whole cake.
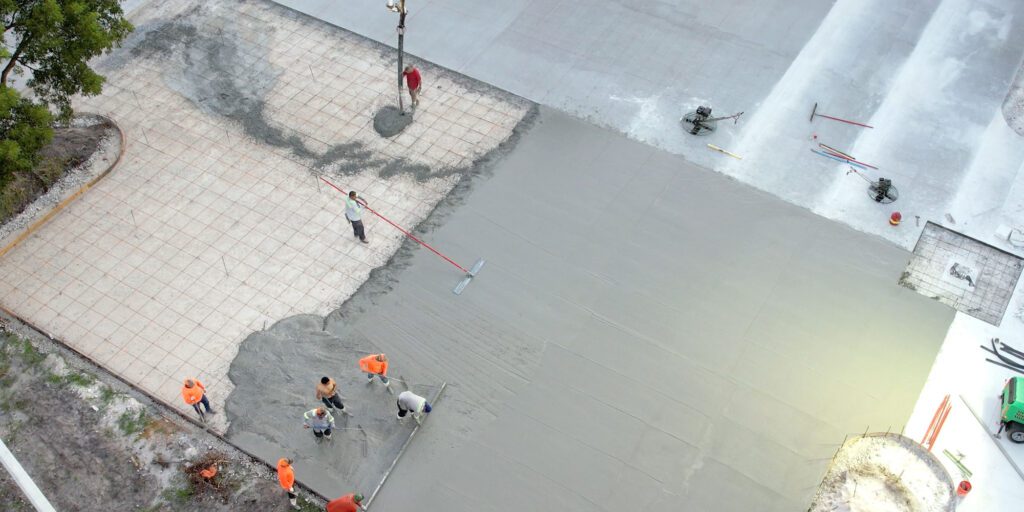
South Florida and Concrete:
In South Florida, concrete plays a big role. It’s in our residential communities, businesses, driveways, streets, buildings, and even our parks. Getting it right the first time is extremely important.
In the End: Concrete slabs might seem boring. But they are the unsung heroes of our buildings. From “how much concrete per yard” to the best “concrete slab calculator”, there’s a lot to learn. But always aim for the best. And when things get tough, remember the experts in South Florida, like 3-D Paving and Sealcoating, are always ready to help!
Determine the Volume in Cubic Feet: Calculate the volume of the area you want to pour concrete into. This is typically done by multiplying the length (in feet) by the width (in feet) by the depth (in feet).
For example, if you have a slab that’s 10 feet long, 10 feet wide, and 0.5 feet deep (6 inches), the volume in cubic feet would be:
Volume = 10 ft (length) × 10 ft (width) × 0.5 ft (depth) = 50 cubic feet.
Convert Cubic Feet to Cubic Yards: There are 27 cubic feet in a cubic yard. To convert your measurement to cubic yards, divide the total number of cubic feet by 27.
Using the above example:
50 cubic feet ÷ 27 = 1.85 cubic yards.
So, you’d need approximately 1.85 cubic yards of concrete for a slab that’s 10 feet by 10 feet by 6 inches deep.
Consider Overestimation for Wastage: It’s a good practice to order a bit more concrete than your exact calculation due to potential overages, spillage, over-excavation, changes in plan, or the presence of voids/depressions. A general rule of thumb is to order 10-15% more than your calculated amount.
In practice, using a dedicated concrete calculator tool can help streamline this process, especially for more complex shapes and projects.
Measure the Area: First, measure the dimensions of the area where you want to pour the concrete. Obtain the length, width, and depth (or thickness) in feet.
Calculate the Volume in Cubic Feet: Multiply the length (in feet) by the width (in feet) by the depth (in feet) to get the volume in cubic feet.
Volume in cubic feet=length (ft)×width (ft)×depth (ft)Volume in cubic feet=length (ft)×width (ft)×depth (ft)
For example, for a slab that’s 10 feet long, 5 feet wide, and 0.5 feet deep (6 inches):
Volume=10×5×0.5=25 cubic feetVolume=10×5×0.5=25 cubic feet
Convert Cubic Feet to Cubic Yards: There are 27 cubic feet in a cubic yard. To find out how many cubic yards you need, divide your volume in cubic feet by 27.
Volume in cubic yards=Volume in cubic feet27Volume in cubic yards=27Volume in cubic feet
Using the above example:
25 cubic feet÷27=0.93 cubic yards25 cubic feet÷27=0.93 cubic yards
So, you would need approximately 0.93 cubic yards of concrete for a slab that’s 10 feet by 5 feet by 6 inches deep.
Add a Buffer for Wastage: It’s wise to order a bit more concrete than the exact amount you’ve calculated. This accounts for potential wastage, overages, spillage, or unexpected depth variations. A common rule of thumb is to order 10-15% more concrete than your initial calculation.
Round Up: Concrete is typically ordered by the cubic yard or cubic meter, depending on your location. Always round up to the nearest whole or half-yard to ensure you have enough for your project.
Lastly, for complex shapes or larger projects, consider using a concrete calculator tool online, or consult with your local concrete supplier for precise calculations.
Location: Prices can differ significantly depending on the region or country you’re in and even within different parts of a country due to transportation costs and local market conditions.
Type of Concrete: There are various mixes and grades of concrete tailored for different purposes, each with its own price point. For instance, high-strength concrete or mixes with certain additives or admixtures can be more expensive.
Quantity: Some suppliers may offer discounts for large orders.
Delivery Fees: There may be an additional charge for delivering the concrete to your site, especially if it’s a small order or if your site is far from the supplier.
Short-load Fees: If you order less than a full truckload of concrete, you might be charged a short-load fee.
Seasonal Variations: Prices can sometimes be higher during peak construction seasons due to increased demand.
Additional Materials: If you need reinforcements like rebar or wire mesh, there will be additional costs.
Other Additives: Some projects might require accelerators, retarders, fibers, or other additives, which can affect the final cost.
As of my last update in September 2021, the average cost for plain concrete in the United States was roughly between $100 to $150 per cubic yard, but this can vary widely. It’s essential to contact local suppliers or contractors for the most current pricing in your area. Always get a quote that includes all potential fees and charges to avoid surprises.
To determine how many bags of concrete mix you’ll need, follow these steps:
Determine the Volume of Your Project: First, find out the volume of concrete required for your project in cubic feet. You can do this by multiplying the length (in feet) by the width (in feet) by the depth (in feet) of the area you’re pouring.
Volume in cubic feet=length (ft)×width (ft)×depth (ft)Volume in cubic feet=length (ft)×width (ft)×depth (ft)
Check the Bag Size: Ready-mix concrete typically comes in 40-pound, 60-pound, and 80-pound bags. On the bag, there should be information indicating how much volume the bag will cover when mixed. Often, an 80-pound bag of concrete mix will yield about 0.60 cubic feet of mixed concrete.
Calculate the Number of Bags: Divide the total volume of concrete needed for your project (in cubic feet) by the volume each bag will produce (in cubic feet).
Number of bags=Total volume (cubic feet)Volume per bag (cubic feet)Number of bags=Volume per bag (cubic feet)Total volume (cubic feet)
Using the example of an 80-pound bag which yields 0.60 cubic feet:
If you need 10 cubic feet of concrete:
Number of bags=100.60=16.67Number of bags=0.6010=16.67
You’d need approximately 17 bags of the 80-pound concrete mix, rounding up to ensure full coverage.
Consider Extra for Margin: It’s a good idea to buy some extra bags for contingencies. There might be spillage, overestimation, or other unforeseen circumstances. Buying 10-15% more is a common recommendation.
Remember, the specifics can vary based on the brand and mix of the concrete, so always refer to the manufacturer’s instructions and details on the bag. If in doubt, consulting with a store representative or using a concrete calculator tool online can also be helpful.
Pouring a concrete slab involves several steps to ensure durability and a smooth finish. Here’s a step-by-step guide on how to pour a concrete slab:
Planning:
- Decide on the size and thickness of your slab. The purpose of the slab will often dictate its thickness. For instance, a driveway might need a thicker slab than a patio.
- Ensure that the area you plan to pour the slab has adequate drainage.
Preparation:
- Mark out the area where you want the slab with stakes.
- Remove any grass, roots, or debris from the marked area.
- Level the ground using a shovel and a rake.
Setting Up Forms:
- Install wooden or metal forms to shape the slab and hold the concrete in place while it sets. Make sure the forms are level and secure them with stakes.
Installing Sub-Base:
- Lay a sub-base (usually gravel) of 4-6 inches to improve drainage and reduce ground movement under the slab.
- Compact the sub-base using a mechanical compactor.
Reinforcement:
- Depending on the load the slab will carry, you might need reinforcement. Lay steel reinforcing bars (rebar) or wire mesh over the sub-base.
Pouring Concrete:
- Prepare the concrete mix as per the manufacturer’s instructions. You can mix it on-site using a concrete mixer or order a ready-mix concrete truck, depending on the volume required.
- Pour the concrete into the form, starting at one end and working your way to the other.
- Use a shovel or a rake to spread the concrete evenly within the forms.
Leveling and Finishing:
- Use a screed (a long, flat tool) to level the surface of the concrete. Move it back and forth across the top edges of the form to create a flat surface.
- After screeding, use a float to smooth the surface. This will also bring the water and finer particles to the top.
- Once the concrete has set a bit but is still damp, use a steel trowel to achieve a smooth finish. For outdoor slabs like patios or driveways, a broom finish (which offers better traction) might be more appropriate.
Curing:
- Keep the concrete moist for at least 7 days to allow it to cure and achieve its maximum strength. This can be done by periodically spraying it with water or covering it with wet burlap or plastic sheeting.
- Avoid walking on or placing heavy objects on the slab during the curing process.
Remove the Forms:
- After the concrete has cured adequately (typically after at least 24-48 hours), carefully remove the wooden or metal forms.
Sealing (optional):
- For added protection and longevity, you can seal the concrete slab using a concrete sealer.
Remember, always wear appropriate safety gear, including gloves, safety glasses, and protective clothing when working with concrete. Weather conditions can also affect the setting time of concrete, so it’s essential to consider the day’s temperature and humidity when planning your pour.
The thickness of a concrete slab depends on its intended use and the underlying soil conditions. Here are some general guidelines for different applications:
Sidewalks: Typically, sidewalks are 4 inches thick.
Driveways:
- For regular passenger vehicles: 4 to 6 inches is standard.
- For heavier vehicles, like trucks or RVs: Consider 6 to 8 inches.
Patios: Usually, patios are 4 inches thick.
Garage Slabs:
- Residential garage slabs for personal vehicles are typically 4 to 6 inches thick.
- For garages that will house heavier vehicles or equipment, a thicker slab may be required.
House Slabs (slab-on-grade foundations):
- For homes, the slab thickness can range from 4 to 6 inches, often with thickened edges or integral footings at the perimeter or at load-bearing walls.
Industrial or Commercial Slabs:
- These can vary greatly based on the intended use, but they can range from 6 inches to more than a foot thick, depending on the weight and type of equipment or machinery they’ll support.
Sheds and Light Structures: A thickness of 4 inches is often adequate.
Hot Tub or Spa Pads: Due to the significant weight when filled with water, a thickness of 6 to 8 inches is recommended.
Other considerations:
Soil Type: If the soil is soft or prone to settling, you might need a thicker slab or additional base preparation. In some cases, a soil engineer’s assessment can guide the thickness and preparation needed.
Reinforcement: Depending on the application and slab thickness, you might need to add reinforcement, such as rebar or wire mesh, to provide additional strength and prevent cracking.
Frost Depth: In colder climates, where ground freezing occurs, the slab or foundation might need to extend below the frost line to prevent heaving. This factor won’t dictate slab thickness per se, but it will influence the depth of footings or the slab’s overall design.
When in doubt, consult with a structural engineer or local building codes to ensure the correct slab thickness for your specific project.
A concrete slab or building pad is a flat, horizontal, and typically rectangular section of concrete that is poured and set to form a durable foundation or surface. These slabs can serve multiple purposes depending on their application in construction:
Foundation Slab (Slab-on-Grade):
- This is a type of foundation wherein the concrete slab is poured directly on the ground and serves as both the foundation and the floor for the structure above. It’s typically used in areas where the ground doesn’t freeze, but it can be adapted for colder climates with proper insulation methods.
- Slab-on-grade foundations are common for homes in warmer climates where the risk of frost heave is minimal.
Building Pad:
- In the context of site preparation, a “building pad” refers to the leveled and compacted area where a structure will be built. Before pouring a concrete slab, it’s essential to prepare a building pad to ensure a stable and level base for the construction.
- This involves excavating to the desired elevation, compacting the soil, and sometimes adding and compacting fill material to achieve the desired grade.
Concrete Pads for Equipment:
- These are smaller slabs poured to support heavy machinery or equipment. They ensure a stable and level base for equipment operation.
Patio Slabs:
- These are outdoor concrete surfaces used for recreational purposes, often adjoining a residence.
Driveway Slabs:
- These are slabs poured specifically for vehicles to travel and park on.
Sidewalks:
- These are narrow slabs intended for pedestrian use.
In construction, the concrete slab’s thickness, reinforcement, and mix will vary based on its intended use, local building codes, and the ground conditions. Proper preparation, including soil compaction and the use of a gravel base, is crucial for the longevity of the slab.
We know you have a lot of choices in concrete companies, here is 5 reasons to choose 3-D Paving.
- Expertise and experience: A professional concrete company like 3-D Paving has the expertise and experience necessary to identify and fix pavement trip hazards in a timely and effective manner. They have the knowledge and tools to repair potholes, cracks, and other defects, as well as to smooth out uneven surfaces and ensure that the pavement is safe for pedestrians.
- Quality materials and techniques: A skilled paving company uses high-quality materials and follows proper construction techniques when repairing or repaving pavement surfaces. This can help to prevent future trip hazards and ensure that the pavement is durable and long-lasting.
- Liability protection: By hiring a professional paving company, HOAs and community associations can protect themselves from liability in the event of a trip and fall accident. A skilled paving company will have the necessary insurance and licenses to cover any potential liabilities, helping to keep the community safe from costly lawsuits.
- Time and cost savings: Repairing pavement trip hazards can be a time-consuming and costly process, especially if it is not done properly. By hiring a professional paving company, HOAs and community associations can save time and money by having the work done efficiently and effectively.
- Peace of mind: Hiring a skilled paving company can provide peace of mind to HOAs and community associations, knowing that the pavement surfaces in their community are safe and well-maintained. This can help to create a sense of community pride and ensure that the community is a desirable place to live or visit.
What other services does 3-D Paving offer?
Whether you need a concrete sidewalk or walkway for your home, business, subdivision, or municipality in South Florida, we can help. We install concrete sidewalks, curbs, ramps, gutters, parking lots, and slabs, and we also install asphalt pavements, asphalt paving, bollards, speed bumps, paver bricks, reflective pavement markers, parking lot signage, and thermoplastic line striping. In addition, we offer asphalt resurfacing, parking lot striping, asphalt milling, concrete grinding, asphalt sealcoating, drainage solutions, and ADA compliance services. We are a well-respected company with an exemplary reputation for our craftsmanship and our focus on customer satisfaction. We would be happy to provide you with a free quote, so submit your request today by completing the online contact form, sending an email to Info@3-DPaving.com, or calling us toll-free at 855-735-7623.


